In the sweetness of friendship let there be laughter and sharing of pleasures. ~ Gibran
Showing posts with label chocolate. Show all posts

Saturday, November 29, 2014

October Make and Take Goes for a Broom Ride!


Make and Take celebrates Halloween at Pam's house!
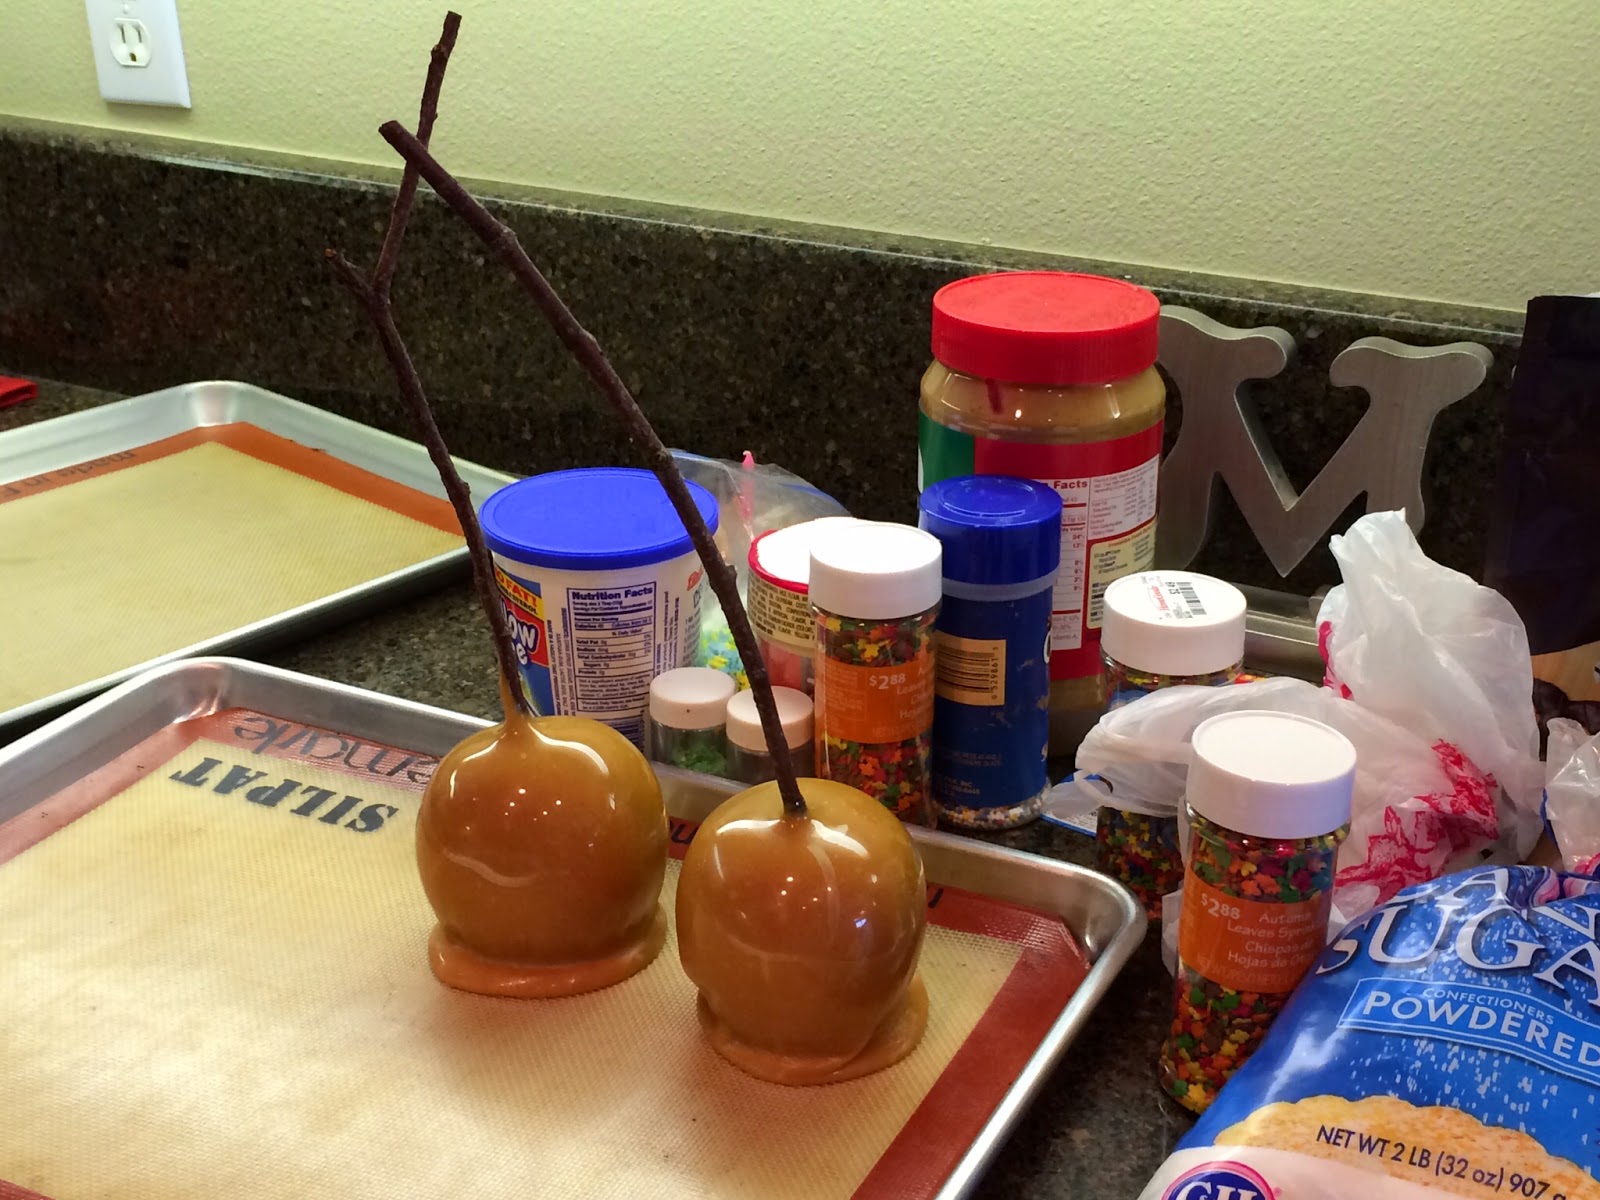
With Witches Brooms Candied Apples and Birthday Peanut butter Cup Cupcakes! That's right, a trick is in our treat making!


The kitchen was brewing with our many hands creating these darling brooms and cupcakes. We stuffed our chocolate cups with peanut butter or marshmallow and created these cheerful looking cupcake creations that are really a chocolate surprise!

Then it was time to gather around Pam's festive table and enjoy her always indulging menu for lunch. We delighted in Butternut Squash soup and Cheese Fondue! It was so delicious!
Dessert was a treat for the eyes with this darling witch's hat and broom, and a delicious pumpkin bar drizzled in chocolate! 


 Thank you Pam for all the treats and no tricks!


Sunday, May 25, 2014

Make and Take Gals Head to Milwaukie!


On a sunny May morning in Portland, the Make and Take Gals piled into MJ's car for her Make and Take on the road! MJ planned our journey to Milwaukie, Oregon with a variety of factory stores and beautiful local boutiques. Our first stop was the Dave's Killer Bread Breadquarters, were we filled our sacks with all the favorites!


Across the street... Bob's Red Mill and rows upon rows of freshly ground grains, fresh baked bakery items, and all you need for healthy eating! As we prepared to leave Bob's, it was clear we brought too small of a car :)


It was time for the surprise Make and Take that MJ lined up for us. Heading onto Milwaukie's Main Street we pulled up to KMarie where our eyes rolled back in our heads as we entered this enchanted store. Kelli, the owner greeted us with a introduction of all the fun mischief one could get into in her paper play land.


We entered the workshop in the back and knew we had found paradise. Kelli had a beautiful farm table in the middle of the workshop all prepped for our project we would be making.


This Spring box was our goal and when complete would be the vessel for our next surprise stop 2 doors down from the KMarie!


Kelli's workshop, filled with every doodad invited us to explore every nook.


She provided nourishment for the crafting angels stright from chocolate heaven!


As Kelli guided us through our project, it was not long before we were all producing fluffy pink paper flowers for the top of our Spring Box.


After a wonderful 40 minutes of glitter and glue we finished our little treasures and regretted having to pack up and bid Kelli are gret big thank you and good bye.


The only thing that made it possible to skip out of Kelli's charming shop was that we were headed a few doors down to her sisters shop, Enchante
it was now time to fill our blooming Spring Boxes with chocolate treats. This sweet haven is a Parisian candy store for adults. Bobbles and sparkles surround a seemingly endless selection of homemade chocolates!


It was no easy task to select just a couple treats, but our time was growing to a close in Milwaukie. We left the enchanted sister's and their stunning boutiques and headed to Cha. Cha, Cha across the street for lunch, where we do what we do best, catch up on all the news in each others lives and ooogle over our treasures.

As we left Milwaukie downtown we made one last stop at the Pendleton Woolen Mill Store. It was a fun filled day of friendship and discovery!

Until next time...

Thursday, February 6, 2014

Make and Take Is All a Flurry This Month!

Today we gathered at Pam's house early in hopes of having our fun before the snow hit. Well, flakes were falling outside as inside we were all a flurry putting finishing touches on our fun and yummy Valentine projects! Soon it was a flurry outside as well and we packaged our dessert up, cut our lunch short, bundled all the treats and made our way to the cars. Jean almost blew away! We all arrived safely home, but not without some treacherous roads to cover. As I sit typing to you, it looks more like a frosty blender outside my window. Hard and heavy, the snow is piling up. The good news is the family is home safe, we have electricity and a chicken pie, and Mississippi Mud Pie from Pam's Make and Take. Life is good!

So Pam took us on a tour of several projects we would be creating, all adorable! Of course we began the morning with Tea, handsewn into little hearts with tags that read "Tea-riffic" accompanied by the most delicious Banana Lime Coconut Cake. No kidding, it sounds out there, but it is amazing!


Just when we thought it could not get any better, we discovered that our projects were all care package friendly for our college girls. We made the rice krispy dessert foil wrapped Kisses, a valentine cookie-butter popcorn Pam has perfected using cookie butter as the base for the glaze; and finally heart shaped Mississippi Mud Pies!

Best part was Pam had all the ingredients premeasured and laid into separate baskets so we could get right to work!


Using your favorite Rice Krispy dessert recipe, create the "Kiss" by shaping the mix into a well oiled funnel. Find just the right one to achieve that recognizable shape. Then turn your Rice Krispy Kiss out onto foil or waxed paper. Allow to set awhile. Then splatter chocolate across and valentine sprinkles and candies. Wrap in foil creating a swirl as you wrap and tuck in a Valentine message flag before sealing off the top.
 
 
Next we got our Mississippi Mud Pie basket and got to work. See recipe below. The trick here is to only fill your mold or pan 1/4 of the way so you have plenty of room for the other layers of gooey goodness. Start with the brownie mixture and bake. Cover in mini-marshmallows and bake until just turning brown.Whip up the amazing fudge frosting and cover the marshmallow layer then sprinkle with toasted, chopped pecans. Serve warm with Vanilla ice cream! Yummers!


Our last project was the Valentine Cookie Butter Popcorn. Take a lot of your favorite candies and make sure they are red, pink, white, and chocolate for a beautiful pop of color with the popcorn. For this project we found it best to coat the popcorn thoroughly and then add candies. Do this by spreading the coated popcorn on a silpat and then sprinkle candy on top and press in. The candy is quite ugly if you mix it into the coating, so better to tuck it in. Pam had some cute cellophane bags and these darling yarn hears to decorate the bags.


By this time we had worked up quite the appetite and snowbanks were beginning to build. Outside looked like a huge white blender as Poh and I began to get nervous about our drive home. Then we sat down at Pam's darling table and delicious lunch and the outside storm was forgotten while we enjoyed a chicken chili, grilled heart cheese sandwiches and bacon heart salad. Life was good and are tummies were full and warm. Half way through Pam was called to work where she helps get the kids at school looked after until their parents could get there to pick them up. We grabbed our goodies and bulbs she had planted in cute red pots and headed to our cars.


Thank you Pam for a wonderful and memorable Make and Take!

RECIPES

Banana Lime Coconut Bread
By Ninja 
Ingredients:
Cooking spray
Grated zest and juice of 2 limes
1 cup all purpose flour
1 1/2 tsp baking soda
Pinch salt
4 tbls butter
1/2 cup sugar
1 egg
1/2 ripe banana, mashed
2/3 cup skimmed milk
1 tsp vanilla
4 cups water
1/3 cup chopped toasted pecans
1/3 cup sweetened toasted coconut
1/4 packed brown sugar 

1. Spray multi-purpose pan with cooking spray. Stir flour, baking soda, and salt in a bowl.
2.Beat 2 tablespoons butter and sugar in another bowl with electric mixer until mixture is creamy. Beat in an egg.
3. Stir in banana, milk, half lime zest, half the lime juice, and vanilla into butter mixture. Repeat with remaining flour mixture and butter mixture.
4. Pour water into pan to create a bath. Place bread pan into bath. Set oven 375degrees and bake 40 min. with foil over top of bread pan and bath lightly situated.
5. In pan on top storve, cook on high remaining butter, pecans,coconut,brown sugar, lime zest, and lime juice. Cook uncovered for 1 minute or until sugar is dissolved. Spoon mixture over bread.

Cookie Butter Popcorn
(By: iheartnaptime.net)
Ingredients:
16 cups air popped plain popcorn
1 16oz pkg Krogers vanilla candy coating (or candyquick)
3 TB Cookie-butter (found at Trader Joes)
1/2 cup colored candy of your choice
1 package M&M Valentine chocolates
Sprinkles

1. Pop your popcorn and place in large bowl. Melt your vanilla candy coating in the microwave according to the package directions. Then add the cookie butter to the melted chocolate. Stir until combined. Drizzle the coating over the popcorn. Stir until evenly coated. Spread over a cookie sheet lined with silpat or waxed paper. sprinkle candy selection and pat into popcorn mixture. Allow to set for an hour and then break apart and bag to give as gifts or fill a bowl to share.

Saturday, November 9, 2013

Hoot Owl PB & Chocolate Cookies for Thanksgiving!


This month's Make&Take was hosted by Pam, and as always she dazzled us with her baking creativity! Are these the cutest cookies ever! Our Halloween Day session was complete with every detail to get us into the Fall spirit! A touch of Halloween and a cookie recipe to carry us through to Thanksgiving!

Hoot Owl Cookies

From Joann's recipes 

1 cup of brown sugar
1 cup of white sugar
3/4 cup of peanut butter
3/4 cup of margarine or butter
Cream the sugars and butters together

Add :
3 eggs (one at a time)
2 teaspoons of vanilla

Blend well.

Add:
4 teaspoons of baking powder
1 1/4 teaspoons  of salt.
4 and 1/2cups of flour
(1 cup of flour at a time)
Mix well and  then make into a ball.

Take off 1/3 off the ball and add 5 tablespoons of cocoa with it to make the chocolate part of the owl.   Blend well.

Roll out the chocolate cookie dough into a log that is 20 inches long.  

Make the vanilla dough into a log and then flatten it out into a 4 inch by 20 inch long rectangle.

Lay the chocolate cookie dough in the center of the vanilla dough and wrap the vanilla dough around the chocolate dough.  Then roll the dough on the counter gentle until it is rounded and smooth.

Cut in  1/8 to 1/4 inch slices.

Take two slices and lay them side by side on cookie sheet.  (place them tightly together).  Pinch the top corners to form the ears of the owl.

You will need a can of cashew nuts to use for the beak of the owl.
Put a cashew in the center of the two cookies to form the beak.

For the owls eyes.  You will need 4 ounces of cream cheese.  I put the cream cheese in a pastry bag and use a # 3 tube to put a dot for the white of the eye.

You will need a bag of chocolate chip for the pupil of the eye.  Place one chocolate chip on the dot of cream cheese and press down gentle.

Bake in preheated oven at 350 degrees for 8-10 minutes.  Remove from heat and cool on rack.

Make 3 dozen.

While we were waiting for the owls to bake up, Pam provided a wonderful Fall lunch. It was Halloween Day so we had black and orange cheese ravioli with her famous pumpkin ragout sauce, delish! Then darling brownie ala mode with chocolate spiders.


These cute little favors are Halloween s'mores. Package 2 graham crackers, 2 small individual snack size Hershey bars, a one darling ghost marshmallow peep on top. The perfect party favor! 


Original recipe makes 4 servings Change Servings
  • 1 tablespoon unsalted butter
  • 3 tablespoons minced sweet onion
  • 1 clove garlic, minced
  • 1 cup chicken broth
  • 1 cup pumpkin puree
  • 2 chipotle peppers in adobo sauce, chopped
  • 1/3 cup low-fat milk
  • 1 teaspoon ground sage
  • 3/4 teaspoon salt
  • 1/4 teaspoon ground coriander
  • 1 pinch ground cinnamon
  • 1 pinch ground nutmeg

Directions

  1. Melt butter in a saucepan over medium heat, and cook and stir the onion and garlic until the onion is translucent, about 3 minutes. Whisk in the chicken broth, and bring to a boil; whisk in the pumpkin puree, chipotle peppers and their sauce, milk, sage, salt, coriander, cinnamon, and nutmeg. Allow sauce to come to a simmer, then lower heat to hold at a simmer until serving time.

Thursday, July 18, 2013

Make and Take Gals Magic: Chocolate Covered Oreos with Transfer Designs!


Make and Take was at MJ's place this month. A scorching 85 degree day in Portland and we were able to relax and enjoy the beautiful breeze coming through the window. We caught up with the summer happenings over coconut milk parfaits, then on to a yummy project.


Chocolate covered Oreos with cocobutter design transfers. They work just like our childhood tatoos that we applied with water, but these of course are with chocolate. We tried a couple methods. Our cookie molds had a raised image: LOVE. So we tried some with and without. To have a flat surface we simply put a round disk of the transfer plastic with the design on the bottom, cocobutter facing up so that it would transfer onto the hot tablespoon of chocolate that went in next.


Once the chocolate was put into each mold the pounding commenced. This ensured no air bubbles and a level top surface where the design would be imprinted.

Finally to off the mold with more chocolate and give another tapping to get the air out. Place in freezer 10 minutes until set.


Once solid, pop out onto a cookie sheet and remove the plastic backing from the transfer. Walaa, beautiful Oreo cookies for any special occasion. 


Lunch time! We liked the chocolate off our fingers and sat down to a vegetarian quinoa medley with Pear and Blue Cheese Flat bread. My bad, I forgot about dessert so baked a pumpkin pie and served with ice cream. A bit early for fall dessert, but there we are... loved every bite!